
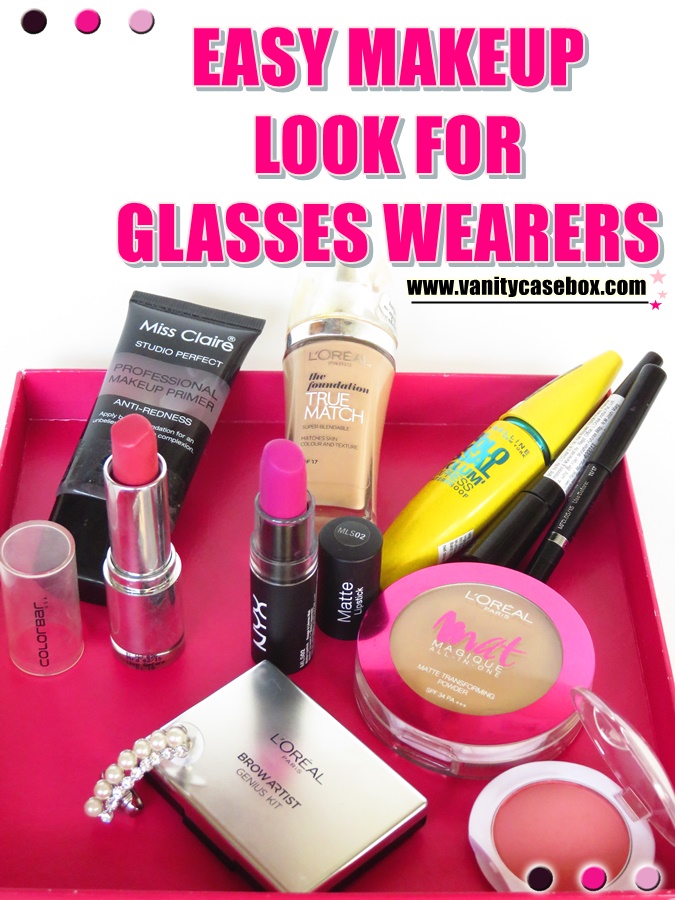
Do you like wearing glasses? I do. I wear lenses (mostly) when I’m going for an outing/special occasion but on a daily basis, I don’t mind wearing them. Probably the reason why I haven’t gone for a surgery. But it’s only when I learned/picked various makeup tips and tricks, that I started wearing them confidently. With New Year’s Eve less than a week away, I thought of making a post on an easy makeup look for glasses wearers. Just because you wear glasses doesn’t mean you can’t look your best. I prepared this post keeping mid-level beginners in mind.
When I say ‘easy’, I really mean it! This look involves no eyeshadow, concealer, tightlining, setting spray or even any contouring product. I’m not a big fan of contouring using bronzers as I love using a blusher to achieve a soft chiseled glow. Precisely one of the many reasons why one should never underestimate the power of a blusher. I created two looks and the only thing I changed was the lip color.
This is the first look I created:
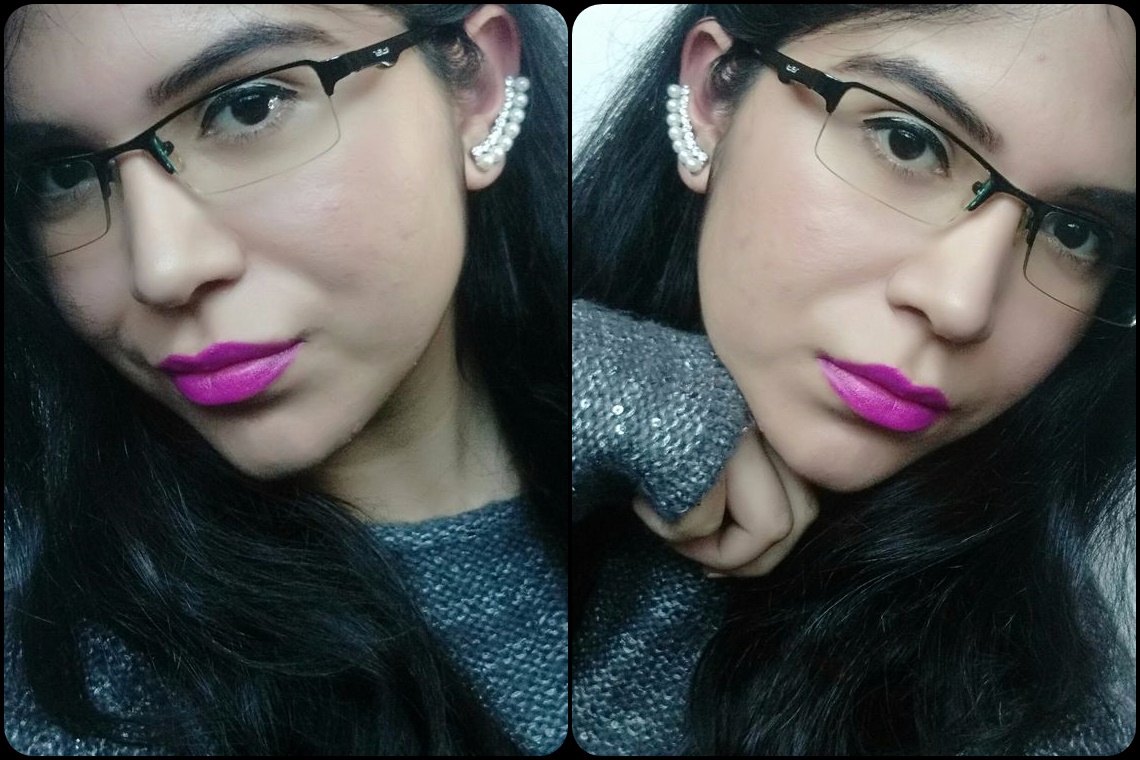

This is the second easy makeup look for glasses wearers I created:

If you like an easy to wear bright lip color, then this look is ideal for you.
Here are the steps I followed for this easy party makeup:
Please see: I have this habit of always starting with the eye makeup first.
- Starting with a clean, moisturized skin devoid of dry patches is a must. If there’s dryness on your inner cheeks, try this instead of using a face wash: Wash you face with a mixture of water and gram flour (besan). Rub the mix gently on your skin. Let it stay for half a minute and then, wash it off. Pat your skin dry and apply moisturizer. The dry patches should now be less. I’ve an oily skin prone to getting dry patches and this works for me in most of the cases. Hope this helps you too.
- I powder my eyelids using powder. Taking the sponge, I pat it on my eyelids to create a barrier between the oil and eyeliner. Since I have very oily eyelids, I always use this eyeliner hack. Therefore, I first apply a pencil eyeliner and then, seal it with a liquid eyeliner. Now, I apply mascara and fill in my eye brows. Eye makeup done! Tada!
Things to note:
– Begin with short strokes to create a better control over the thickness you want. If the first line you drew looks thin, go with another one.
– Also, I don’t like to pull my eye lid while drawing the line as once released, the line looks a bit uneven. Try drawing with your eyes open. Also, keep the eyeliner close to your upper lashline so as to not show any gaps.
- To give my makeup a good base to adhere to, I apply a primer. On the inner side of my cheeks, I use it in tapping motions so as to fill in the pores.
- Now, I apply foundation using hands. Since I didn’t use any concealer for this look, I didn’t wanted to lessen the coverage using a sponge. I dot the foundation all over my face and tap until it blends completely. I apply an extra layer underneath my eye area and on scars. If you have heavy dark shadows, check out my tutorial on how to conceal dark circles using affordable products.
Things to note:
– Work in small sections if you’re still getting the hang of foundation and also, to prevent it from setting quickly.
– If you desire a sheer coverage and have a medium-full coverage foundation, use a damp sponge and begin with small quantity.
- I pat powder lightly on my skin using the sponge present in the compact.
- Read this step carefully: Since we aren’t using any bronzer in this easy makeup look for glasses wearers, it’s important that we use the blush properly to slim down our faces.
Suck in your cheekbones to form an ‘O’ on your lips and shade the blush on that area starting from the center of your cheeks to your hairline. Give extra emphasis to the darker region you see. Since we are aiming for a soft sculpted look, two layers should be suffice. Please make sure that it’s blended completely. Powder again lightly.
- Apply lipstick and done! Both lipsticks I chose are statement lip colors which turn the glam mode on instantly. Also, they stay on for long.
Things to note:
– You can also apply lipstick before blush to control the intensity going on your cheeks.
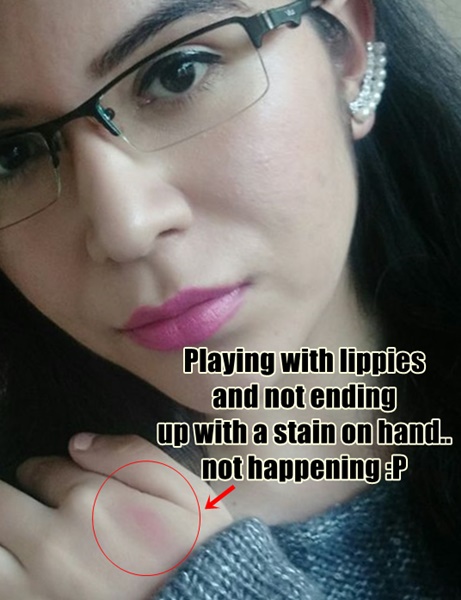
– To avoid lipstick from getting on your teeth, put your index finger in your mouth and pull it out slowly. The extra lipstick will land on that finger which you can wipe. I so wish I knew about this technique earlier.
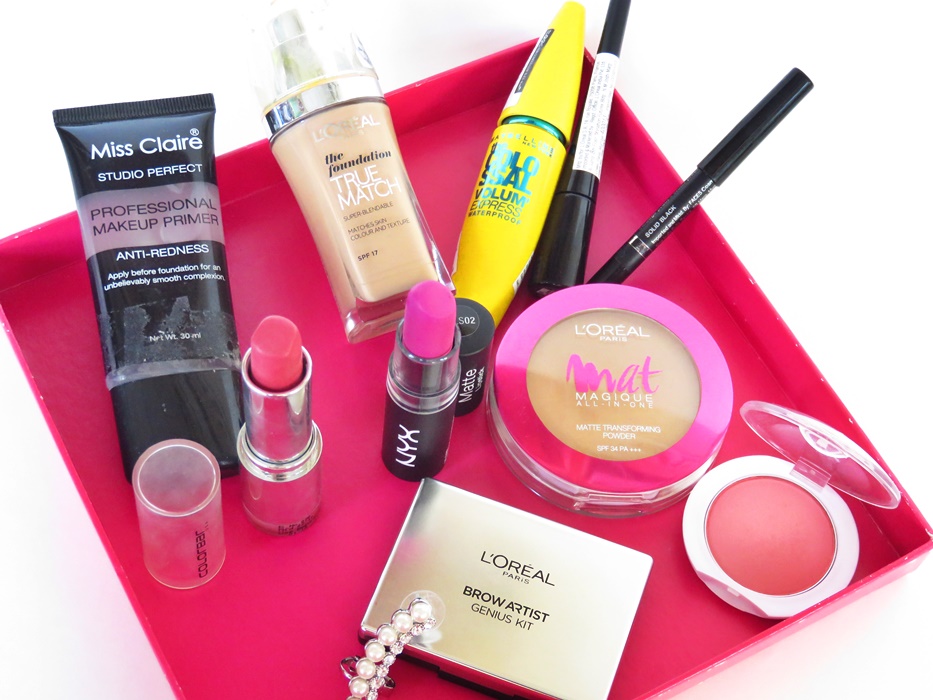
Products used in this look:

Miss Claire studio perfect primer
L’oreal Paris The True Match foundation
L’oreal Mat Magique All in One transforming powder
Maybelline The Colossal Volum’ Xpress Waterproof Mascara
Faces Long Wear Eye Pencil ‘Black’
Maybelline Hyper Glossy Liquid Eyeliner Black
L’oreal Brow Artist Genius Kit
Maybelline Cheeky Glow Blush ‘Fresh Coral’
Colorbar Matte Touch Lipstick ‘Thrilling Pink’, You can buy it on Amazon HERE.
NYX Matte Lipstick ‘Shocking Pink’
That’s all! Team up this look with a blingy accessory and you’re all set to look your best on the biggest night of the year! *_*
On another note,

Hope you found this tutorial helpful ^_^
Disclosure: This post contains an affiliate link, which means I receive a commission if you decide to buy using that link. That said, I only recommend products and services I use and like.