
Hey Everyone! 😀
From Today, I would be starting Series Related To Valentines Day with different ideas and innovations that you can gift to your valentine or make for your valentines like this photo edition. Hope these series are helpful for you. Do let me know if you have any special requests! 🙂
For the photo editions, you have to first download Photoscape
And, Please save this background>

Save it. Go to> Drive C or the location wherein your photoscape is downloaded.
Photoscape> Icons> Either make a new folder or save it in an exisiting folder.
Now, Open photoscape> Editor> Open the picture you want to edit.
1. “HOME” Tab> Filter>Noise Reduction>Middle
2. “HOME” Tab> Filter> Region out of focus> Grayscale
3. “OBJECT” Tab> Click on the small box with mountain sun picture and choose the folder in which you have saved the bakcground. Click that background and it will come on the picture as follows.
4.
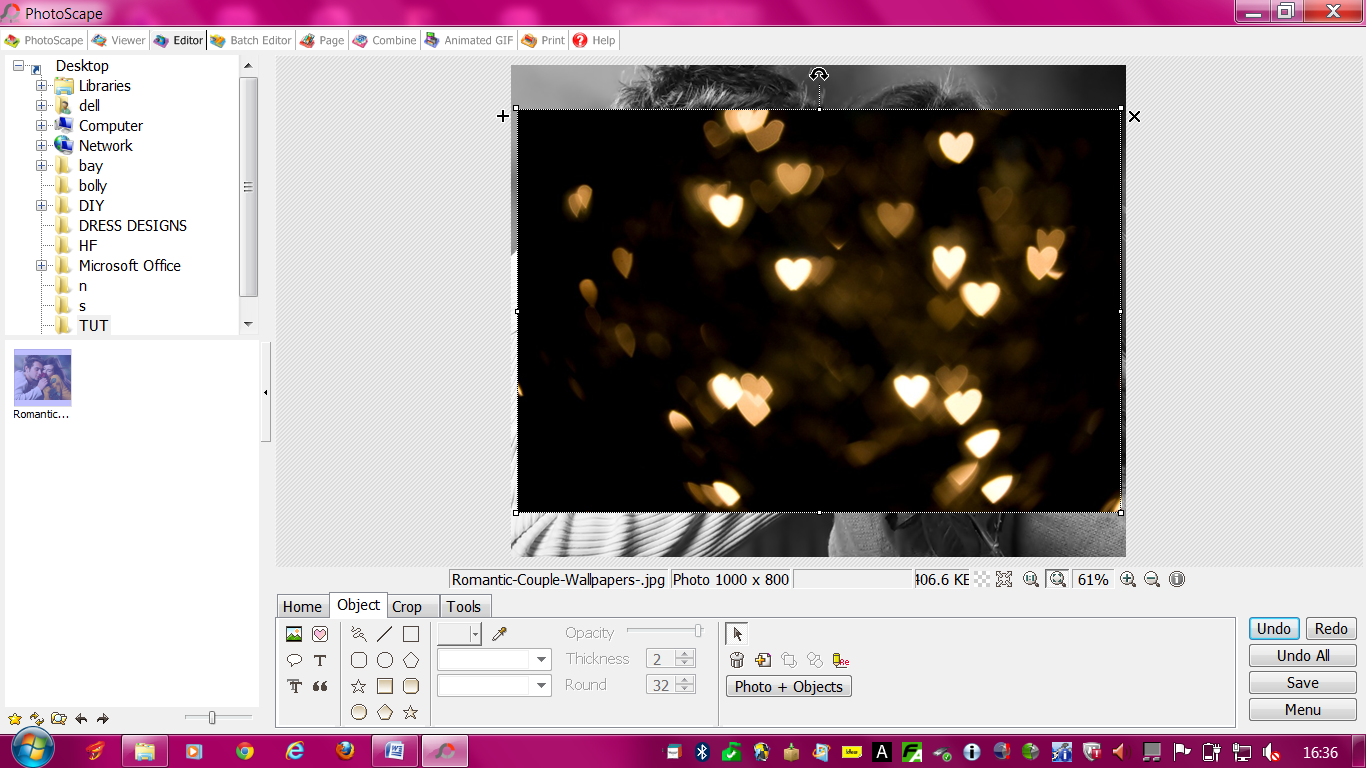
5. Right Click on the background, “Edit Properties”> Do opacity to 74
6. Now, adjust the background on the picture.
7. Click “Photo+Objects” > Combine your photo with objects> Ok.
8.
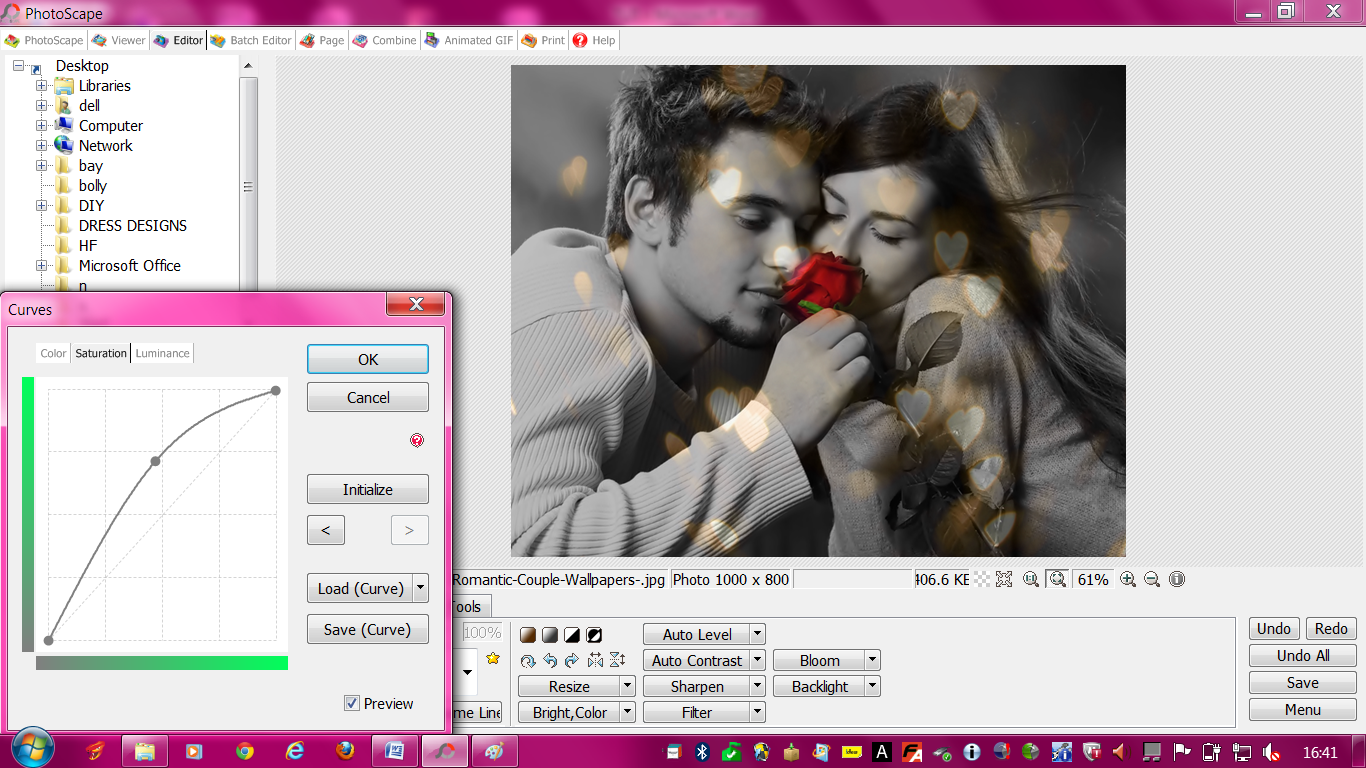
9.
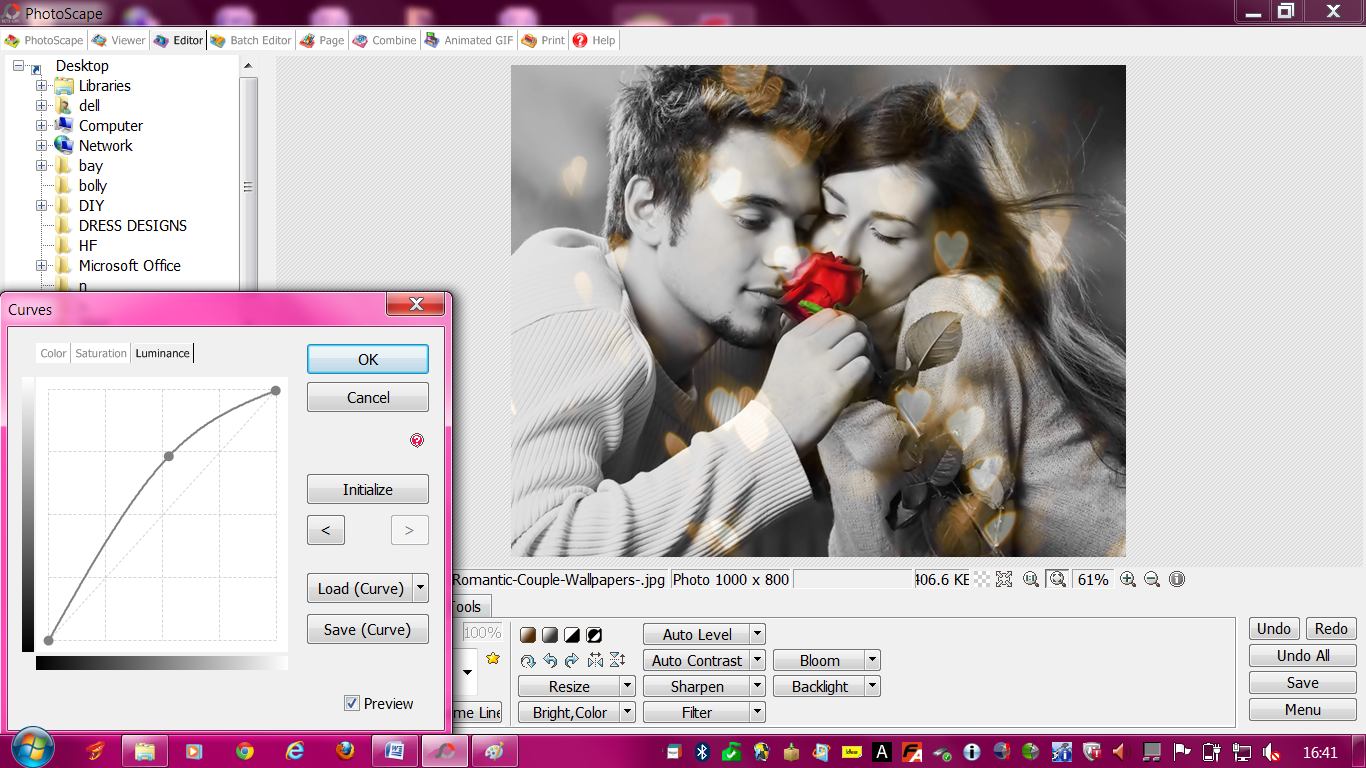
10. Filter> Film Effect> Cinema>Middle
11. Filter>Film Effect> Cross Process> Middle
12. “HOME” tab> Backlight> 200% +
13. “HOME”Tab> Click ON “Bright.Color”> Adjust Hue To 94.
14. “HOME” Tab> Bloom> Low
15. “HOME” Tab> Photoframe> Printline 02> Photo+Frame> Ok.
*Please Click On The Pictures To Have A Better View*
Hope You Liked The Tutorial. Let Me Know If You Have Any Queries 🙂
Check Out>MINI GIVEAWAY 2013
Leave a Reply