Hey everyone!
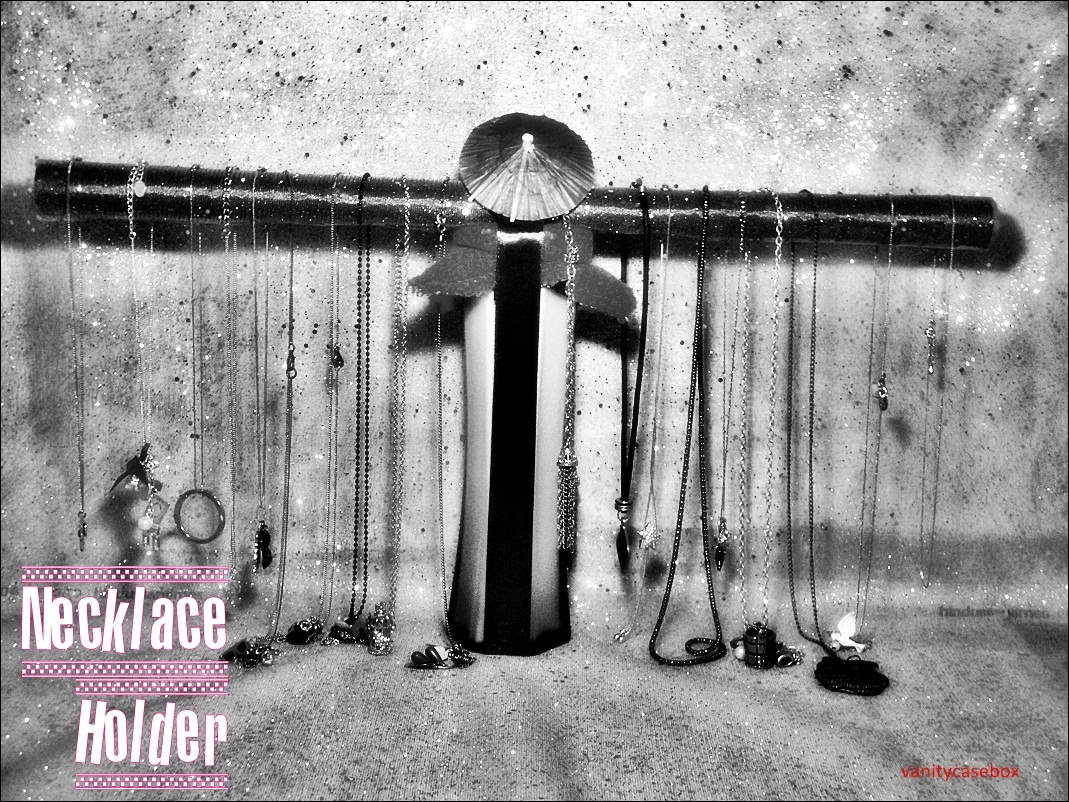
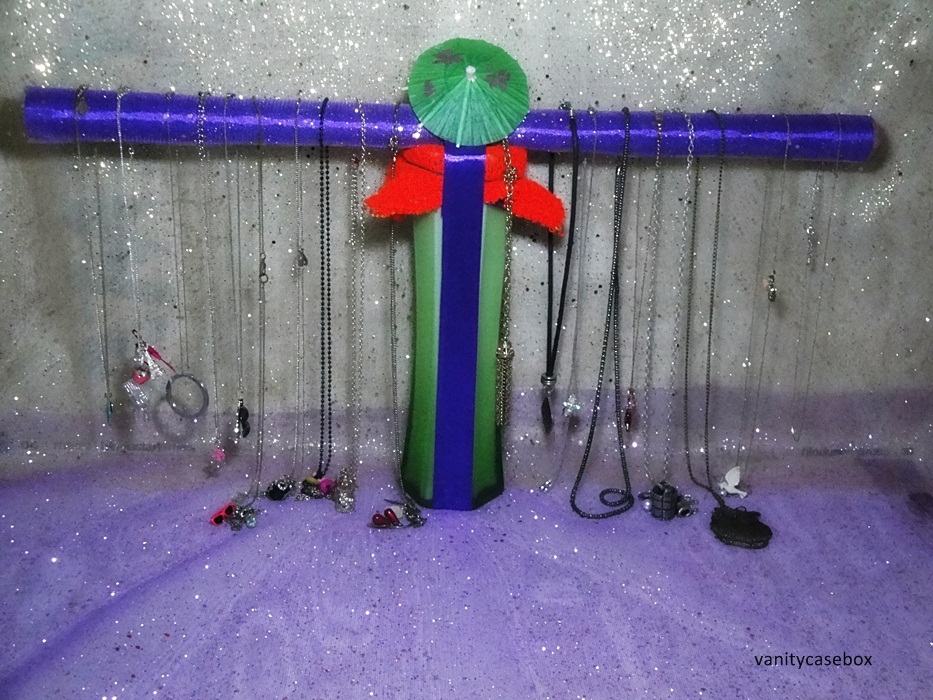
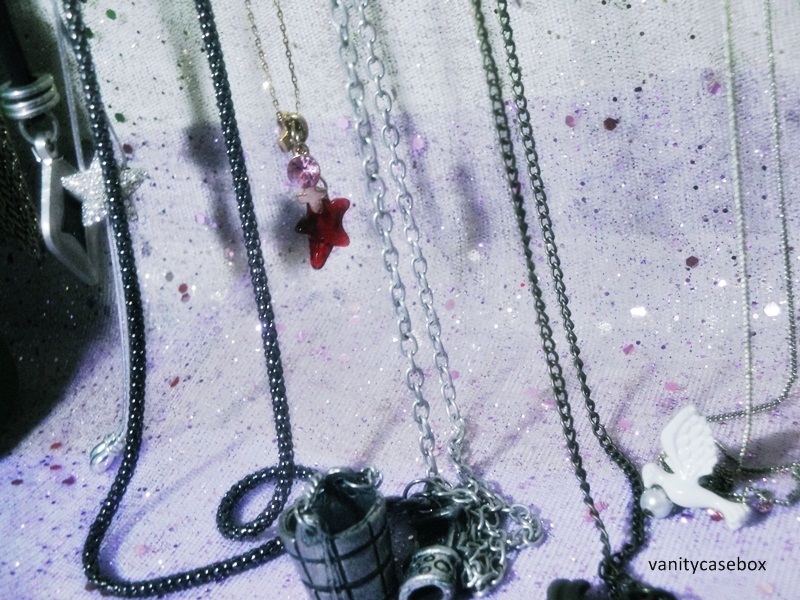
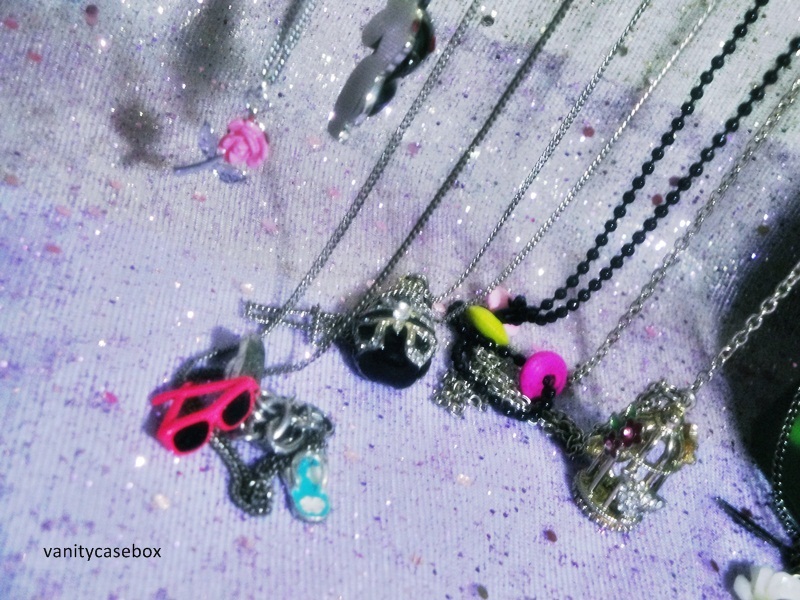
My exams just got over yesterday and I desperately needed to do a DIY (Do-It-Yourself) for my brains to run again. My brains get really damaged and tired in exams, so a recharge was a need of the moment. I had always wanted to make a necklace holder and so, I made one today. Please read below to know how I made it :
Things needed:
-A heavy standing support like a glass vase or a simple water bottle with a flat surface at the top. You can fill the water bottle with pebbles to make it heavy.
– Tape and feviquick.
– Decorative paper/lace/ribbons.
– Newspapers.
– Music
– Candies
– Patience!
Procedure:
Step 1 :
Roll over a thick newspaper and secure it with a firm sticky tape.

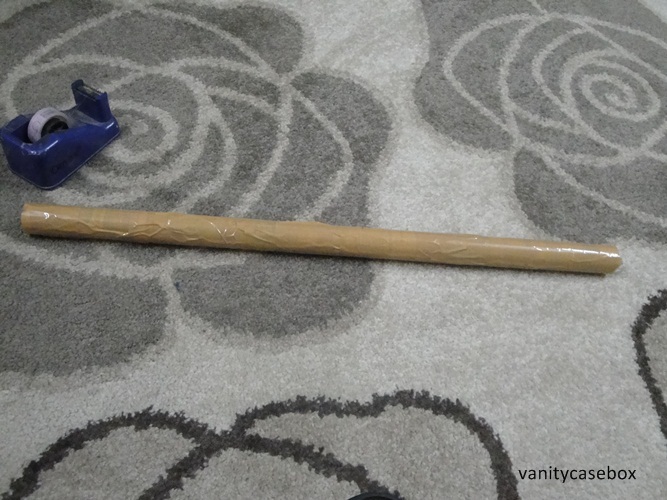
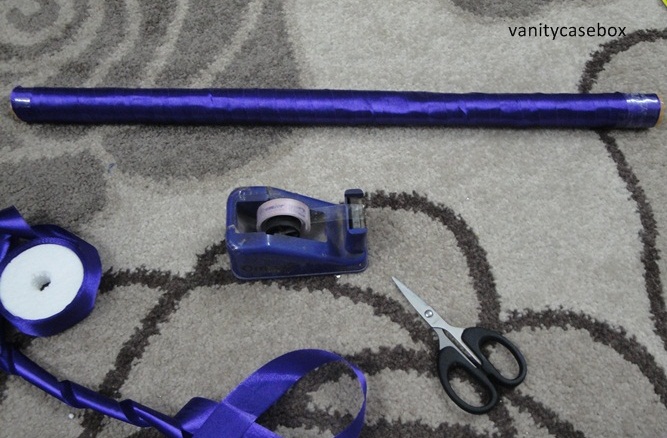
Step 2:
Now, you can use paper or any other decorative lace to cover it. I used ribbon to cover it. I first put on tape at the starting and then firmly starting rolling over the ribbon till the ends were completed. The ends too were secured by covering them with tape.

Step 3:
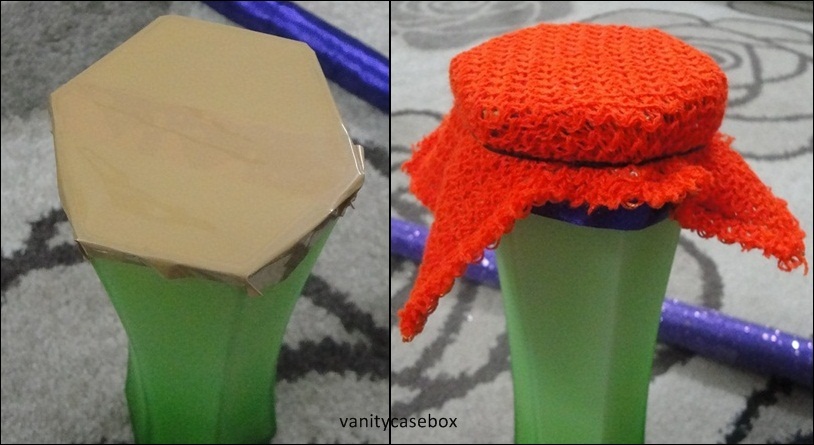
I already had a heavy glass vase lying. So, I used it for standing support and covered its opening with a tape. Then, I put on a cloth on it and tied it with a band.
Step 4:
You can either let the roll remain as it is or cover it with any decorative paper further.
Step 5:
I putted it on the vase top and rolled on ribbon from the top to the end 2 times and finally, secured the ends by pasting it with a feviquick.
If you don’t want to roll over the ribbon, you can directly paste it with feviquick.
You are Done! :D/

Hope you found this DIY helpful. Please do let me know if you make it too 🙂
Leave a Reply